If you’ve noticed mould on your curtains, the quickest way to remove it without washing is to brush off dry spores, vacuum thoroughly, treat the affected area with a natural anti-mould solution, and allow it to dry completely — ideally in direct sunlight or a well-ventilated space. This method kills mould, lifts stains, and prevents it from spreading, without putting delicate fabrics at risk.
Read on for a step-by-step guide to safely restoring your curtains and keeping your home feeling fresh.
Table of Contents
Why Does Mould Grow on Curtains?
Curtains are constantly exposed to moisture, especially around windows. Mould tends to thrive where there is:
- High humidity or condensation on the glass
- Poor airflow or rooms that are rarely ventilated
- Limited sunlight reaching the fabric
- Dust build-up that traps moisture in the fibres
Even small amounts of moisture over time can result in visible mould spots and that tell-tale musty smell. In the New Zealand climate — particularly in older homes or during winter months — this is a common issue.
Step-by-Step: How to Remove Mould Without Washing
If your curtains are delicate, lined, or not machine washable, this gentle process is your safest option. We’ll walk through four cleaning solutions below so you can choose what suits your fabric best.
Step 1 — Take Curtains Outside First
Before doing anything else, remove your curtains and take them outdoors. This prevents loose mould spores from circulating inside your home.
- Shake gently to loosen surface mould
- Avoid aggressive shaking to minimise airborne spores
- Wear a dust mask if the mould growth is heavy
Step 2 — Brush Off Dry Mould
Using a soft-bristled brush, gently remove any visible mould patches before applying any liquid treatment.
- Brush in a single direction to avoid spreading spores
- Focus on seams, folds, and the worst-affected areas
- Dispose of the loosened mould away from the house
Step 3 — Vacuum the Fabric
Using a vacuum cleaner with a brush attachment, go over both sides of the curtain. Pay particular attention to seams and folds where spores can hide. This removes remaining mould and dust particles before treatment.
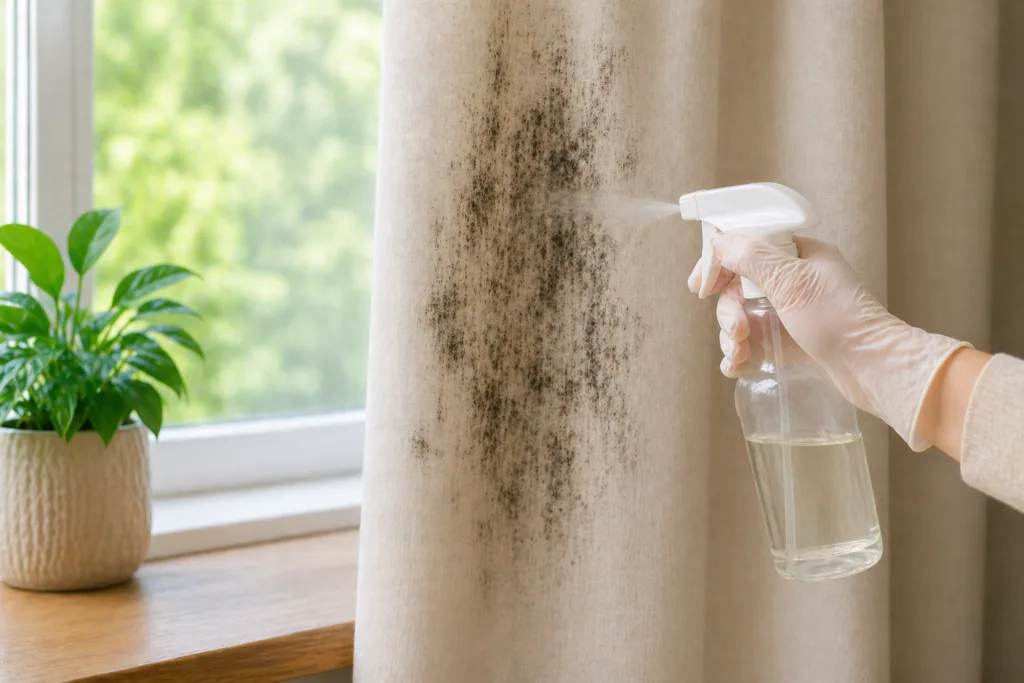
Step 4 — Apply a Natural Cleaning Solution
Now it’s time to treat the mould. Choose one of the four options below based on your fabric type. In all cases, lightly apply the solution — do not saturate the fabric.
Option A: White Vinegar Spray
- Mix equal parts white vinegar and water in a spray bottle
- Lightly mist the affected areas
- Leave for 15–20 minutes — vinegar naturally kills mould and neutralises odours
Option B: Baking Soda Paste
- Mix baking soda with a little water to form a paste
- Gently apply to mould spots and leave for 15 minutes
- Brush off once dry — ideal for light stains and deodorising
Option C: Isopropyl Alcohol (Methylated Spirits)
- Dilute 1:1 with water in a spray bottle
- Lightly apply to the affected area and leave for 10 minutes before blotting
- A strong option for non-delicate fabrics — highly effective at killing mould spores quickly
Option D: Add Essential Oils for Extra Protection
- Clove oil or tea tree oil can be added to any of the above solutions for extra antifungal strength
- A few drops per spray bottle is sufficient
- These natural oils help kill mould and can reduce the likelihood of regrowth
⚠️ Important: Avoid bleach on coloured or patterned curtains. While bleach may remove the mould, it will strip the colour along with it — potentially causing permanent, irreversible damage. Stick to the natural solutions above unless your curtains are plain white and the label permits bleach use.
Step 5 — Gently Blot (Do Not Soak)
Using a clean, dry cloth, blot the treated area to lift the mould residue. Avoid rubbing harshly, and do not saturate the fabric. The aim is to lift the mould, not spread it.
Step 6 — Dry Completely in Sunlight
Sunlight is one of the most effective natural mould killers available.
- Hang curtains outside in direct sunlight with full airflow
- Allow them to dry completely before re-hanging
- If sunlight isn’t available, choose the most well-ventilated indoor space you have
What If DIY Cleaning Isn’t Enough?
If the mould is deeply embedded or the staining won’t budge, don’t jump straight to replacement. Consider professional dry-cleaning as a middle-ground option — many dry-cleaners can treat mould-affected curtains safely, particularly delicate or lined fabrics that aren’t suitable for home treatment.
If professional cleaning hasn’t resolved the issue and mould keeps returning, that’s when replacement makes more sense.
Can You Use Store-Bought Mould Removers?
Yes, with caution. Some commercial mould removers are effective, but they may:
- Damage delicate or lined fabrics
- Cause discolouration or fading
- Leave a strong chemical odour that’s difficult to remove
For most curtain fabrics, natural solutions like white vinegar or isopropyl alcohol are safer, gentler, and just as effective.
Is It Safe to Leave Mould on Curtains?
No — even small patches of mould should be treated promptly. Left untreated, mould can:
- Trigger allergies and aggravate respiratory conditions
- Spread to nearby walls, frames, and furniture
- Weaken and permanently damage the curtain fabric over time
How to Prevent Mould from Coming Back
Cleaning is only part of the solution. To keep your curtains mould-free long term, address the root cause:
- Open windows regularly to improve airflow and reduce condensation
- Use a dehumidifier in bathrooms, laundries, or other high-moisture rooms
- Keep curtains dry and dust-free — shake or vacuum them periodically
- Allow as much natural sunlight into your rooms as possible
Prevention is always easier than repeated cleaning — and far kinder to your curtains.
Can Mould Stains Be Removed Completely?
In most cases, yes — light-to-moderate mould stains respond well to vinegar or baking soda treatment. However:
- Older or deeply set stains may leave a faint mark even after cleaning
- Delicate or heirloom fabrics may require specialist care
- If the fabric itself has been structurally weakened by mould, cleaning may not restore it fully
When Should You Replace Your Curtains?
Sometimes cleaning simply isn’t enough, and replacement is the better option. Consider new curtains if:
- Mould keeps returning despite thorough cleaning and improved ventilation
- The fabric carries a permanent musty smell that won’t shift
- There is visible structural damage, thinning, or weakening of the fabric
New curtains not only improve hygiene — they’re also an opportunity to refresh the look and feel of a room entirely.
Thinking About New Curtains for Your Auckland Home?
At Gorgeous Curtains, we design and install beautiful made-to-measure curtains, blinds, and window accessories for homes across Auckland and beyond. Whether you’re replacing mould-damaged curtains or simply ready for a fresh new look, our friendly team will help you find the perfect fit for your space, your windows, and your style.
Explore our range online: Curtains | Blinds | Accessories | Get a Free Quote
Or visit our showroom at Unit 4/19 Apollo Drive, Rosedale, Auckland.