Curtains do much more than complete the look of a room. They improve privacy, help regulate indoor temperatures, reduce glare, and create a warm, welcoming atmosphere. However, even the highest-quality curtains won’t look or perform their best if the curtain rod isn’t installed correctly.
If you’re searching for how to install a curtain rod, you’ve come to the right place. This step-by-step guide explains everything New Zealand homeowners need to know, from measuring and positioning the brackets to securely mounting the rod and hanging your curtains. Whether you’re refreshing a bedroom, living room, nursery, or home office, these practical tips will help you achieve a professional-looking finish.
Quick Answer: How Do You Install a Curtain Rod?
Installing a curtain rod is straightforward when you follow the correct steps:
- Measure your window and choose the correct rod length.
- Mark the bracket positions above and beside the window.
- Check your wall type and select suitable fixings.
- Drill pilot holes.
- Install wall anchors if required.
- Secure the brackets.
- Fit the curtain rod, attach the finials, and hang your curtains.
Taking the time to measure carefully and use the correct fixings will ensure your curtains hang beautifully and remain secure for years.
Why Proper Curtain Rod Installation Matters
A well-installed curtain rod provides more than just support for your curtains.
When installed correctly, it:
- Keeps curtains hanging evenly.
- Prevents rods from sagging over time.
- Makes opening and closing curtains smoother.
- Protects your walls from unnecessary damage.
- Makes windows appear larger and ceilings feel higher.
- Enhances the overall appearance of your room.
A little extra care during installation can save time, repairs, and frustration later.
Before You Begin: Gather Your Tools
Having everything ready before you start makes the project much easier.
You’ll typically need:
- Curtain rod
- Brackets
- Finials
- Tape measure
- Pencil
- Spirit level
- Stud finder (if available)
- Drill and suitable drill bits
- Screwdriver
- Screws
- Wall plugs or anchors suited to your wall type
- Step ladder
- Safety glasses
Tip: If you’re mounting into plasterboard, use suitable wall anchors unless you’re fixing directly into timber studs.
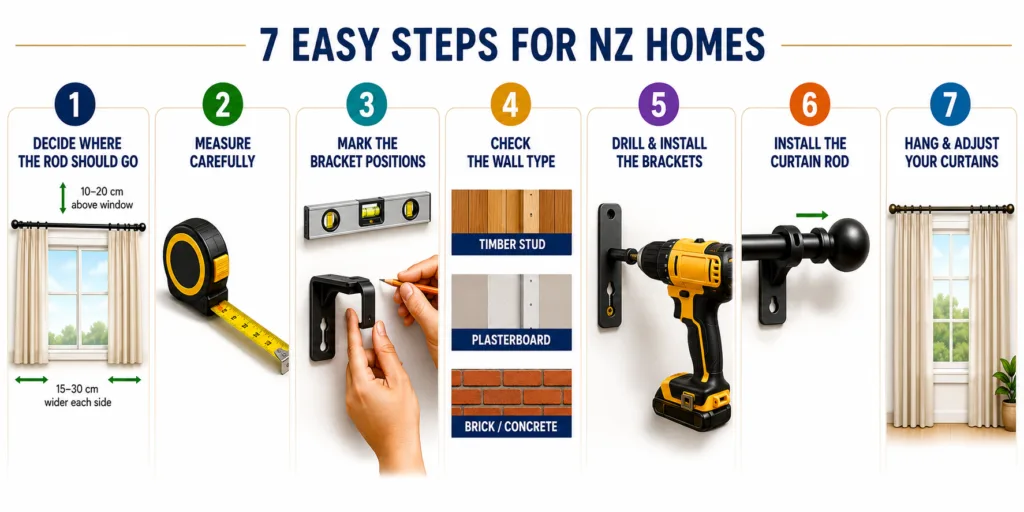
Step 1: Decide Where the Curtain Rod Should Go
One of the most common DIY mistakes is installing the curtain rod directly above the window frame.
For a more stylish result, mount the rod:
- Around 10–20 cm above the window frame
- Around 15–30 cm wider than each side of the window, depending on the room size
Installing the rod higher and wider creates the illusion of:
- Taller ceilings
- Larger windows
- More natural light when the curtains are fully open
The ideal position will depend on your ceiling height, curtain style, and the proportions of the room.
Step 2: Measure Carefully
Accurate measurements are essential for a professional finish.
Measure:
- The window width
- The desired curtain rod length
- The height above the window
- Equal spacing on both sides
Always measure twice before drilling.
If you’re installing curtain rods throughout your home, keeping them at a consistent height creates a balanced and cohesive look.
Step 3: Mark the Bracket Positions
Hold each bracket in place and lightly mark the screw holes with a pencil.
Before drilling:
- Use a spirit level to ensure both brackets are perfectly level.
- Double-check your measurements.
- Step back and visually inspect the positioning.
Even a small height difference can become very noticeable once the curtains are hanging.
Step 4: Check Your Wall Type
Different wall materials require different installation methods.
Timber Stud Walls
Where possible, fix the brackets directly into timber studs for maximum strength and stability.
Plasterboard Walls
If a stud isn’t available, use quality plasterboard anchors rated to support the combined weight of the curtain rod and curtains.
Brick or Concrete Walls
- Use a masonry drill bit along with appropriate wall plugs designed for solid masonry surfaces.
- Using the correct fixings helps prevent loose brackets, wall damage, and sagging rods.
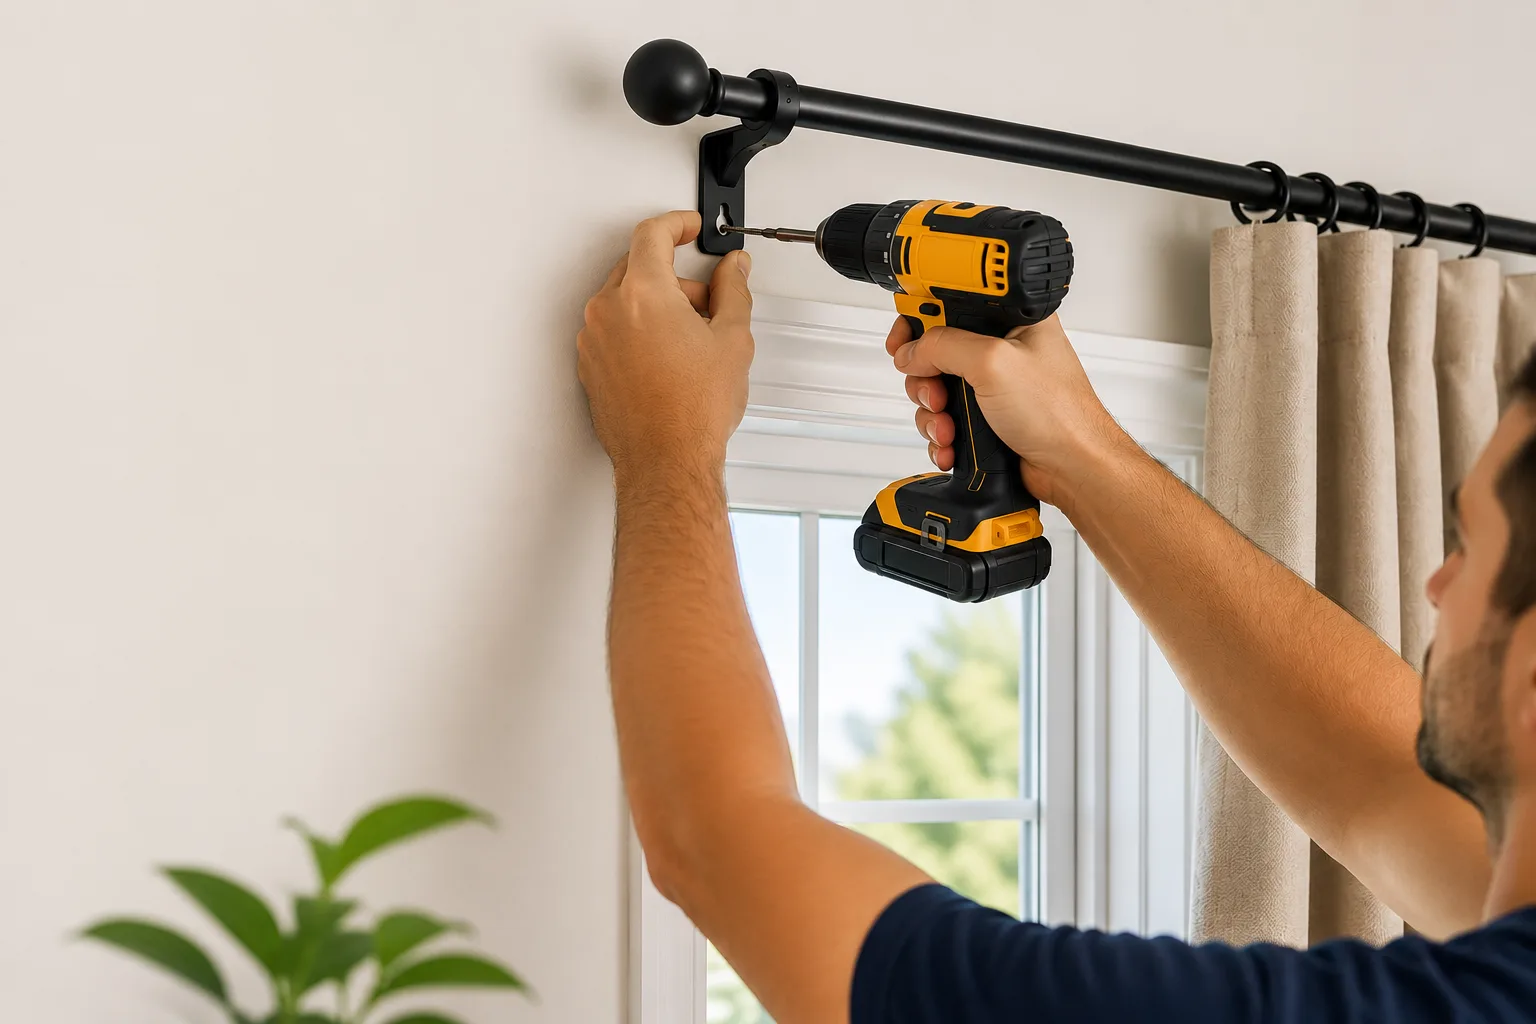
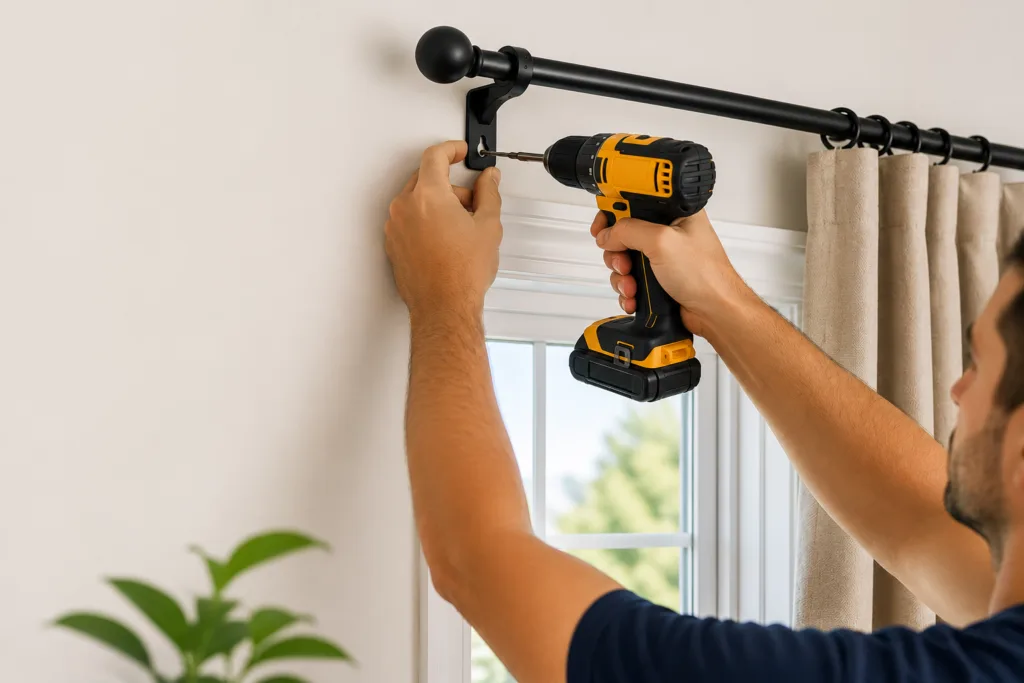
Step 5: Drill and Install the Brackets
Once you’re confident with the positioning:
- Drill pilot holes.
- Insert wall plugs or anchors if required.
- Secure the brackets firmly using screws.
- Check again that both brackets remain level.
Avoid overtightening screws, especially in plasterboard, as this can weaken the fixing.
Step 6: Install the Curtain Rod
Slide the curtains onto the rod before attaching the decorative finials if required.
Then:
- Place the rod into the installed brackets.
- Tighten any locking screws.
- Attach the finials.
- Confirm everything is secure.
For wider windows, install the supplied centre support bracket to prevent the rod from bowing under the weight of heavier curtains.
Step 7: Hang and Adjust Your Curtains
Once everything is installed:
- Spread the curtain pleats evenly.
- Ensure both curtain panels hang at the same height.
- Open and close the curtains several times.
- Make any small adjustments before finishing.
Sometimes simply repositioning the curtain hooks creates a cleaner and more balanced appearance.
Common DIY Curtain Rod Installation Mistakes
Even if you know how to install a curtain rod, small mistakes can affect the final result.
Mounting the Rod Too Low
- Installing the rod directly above the window often makes the room feel shorter.
- Mounting it higher usually creates a more elegant appearance.
Choosing a Rod That’s Too Short
The rod should extend beyond the window frame so the curtains can stack neatly at the sides without blocking natural light.
Ignoring the Centre Support
Long curtain rods carrying heavy curtains should always include a centre bracket to prevent sagging.
Skipping the Spirit Level
Even a slight angle becomes obvious once the curtains are hanging.
Using the Wrong Wall Anchors
Always match the fixings to your wall type and the weight of your curtains.
Which Curtain Rod Is Best for Your Home?
Choosing the right curtain rod makes installation easier and improves the finished result.
| Curtain Rod Type | Best For |
|---|---|
| Standard Decorative Rod | Living rooms, bedrooms and most everyday applications |
| Double Curtain Rod | Combining sheer curtains with blockout curtains |
| Heavy-Duty Rod | Thick thermal or lined curtains |
| Ceiling-Mounted Rod | Floor-to-ceiling styling or rooms where wall mounting isn’t practical |
Selecting the correct rod before installation helps ensure long-term performance and a polished finish.
Should You Install Curtain Rods Yourself?
DIY installation can be a rewarding weekend project if:
- You’re comfortable using basic tools.
- The windows are easily accessible.
- You’re installing standard curtain rods.
- The walls are in good condition.
Professional installation may be the better option for:
- Large feature windows
- Bay windows
- Extra-wide curtain tracks
- High ceilings
- Heavy custom-made curtains
- Motorised curtain systems
Proper installation protects your investment and ensures your curtains operate smoothly every day.
Tips for a Professional Finish
Small finishing touches can make a significant difference.
For the best results:
- Steam or iron your curtains before hanging them.
- Keep bracket spacing perfectly symmetrical.
- Allow curtains to lightly touch or skim the floor.
- Match the curtain rod finish with other room hardware.
- Choose quality fixings rather than the cheapest available.
These simple details create the polished appearance often seen in professionally styled homes.
Looking Beyond Installation: Choosing the Right Curtains
A perfectly installed curtain rod is only part of the equation.
The curtain fabric, heading style, lining, colour, and measurements all influence:
- Privacy
- Light control
- Insulation
- Energy efficiency
- Overall room design
Choosing quality window furnishings ensures your home looks beautiful while providing comfort throughout every season.
Let Gorgeous Curtains Handle the Hard Work
Installing a curtain rod yourself can be a satisfying DIY project, but achieving a perfectly level, secure finish takes time, careful measuring, and the right tools.
At Gorgeous Curtains, we’ve helped homeowners across Auckland transform their spaces with beautifully fitted curtains, blinds, curtain rods, and tracks. We measure, supply, and professionally install premium New Zealand-made window furnishings using trusted fabric brands including Warwick, James Dunlop, and Charles Parsons.
Niki or Kevin will visit your home, discuss the best curtain styles, rods, tracks, and fabrics for your space, take precise measurements, and arrange professional installation—often within just 10 working days.
Whether you need advice on how to install a curtain rod or would rather leave the measuring, product selection, and installation to experienced professionals, contact Gorgeous Curtains today to book your free in-home consultation and enjoy perfectly fitted window furnishings the first time.